
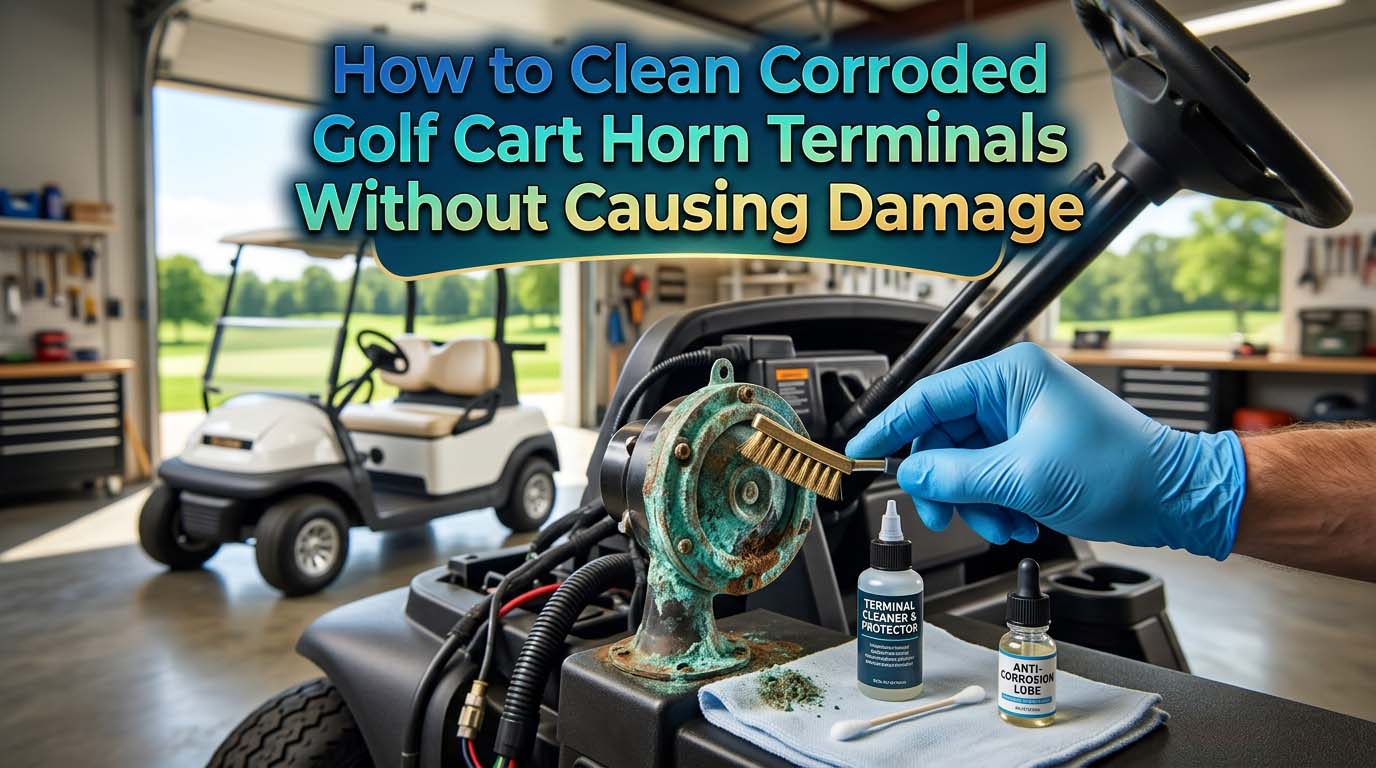
You press the horn button and get a weak wheeze or total silence. You check the fuse. You check the switch. Then you find it: a crusty white or blue buildup on the terminal where the wire connects to the horn.
Corrosion on these terminals acts like a layer of plastic wrap around a drinking straw. It blocks the low-voltage signal the horn needs to work. The good news is this is a straightforward fix. You don’t need a new horn.
You just need to clean the connection the right way. This guide covers exactly how to clean corroded golf cart horn terminals without damaging the delicate components inside the horn itself.
Is Corrosion Really the Problem
Before you grab a tool and start scraping, you need to confirm that the corrosion is the actual cause of the failure. Horns fail in two ways. Sometimes the internal coil just burns out. No amount of cleaning will fix that.
Grab a multimeter and set it to DC voltage. Touch the probes to the two terminals on the horn while someone presses the horn button.
If you see 12 volts at the terminals but the horn stays silent, the horn itself is likely dead. If you see 0 volts, the problem is upstream in the wiring, the fuse, or the switch.
But if you see 12 volts and the horn makes a weak buzzing or clicking sound, you almost certainly have a resistance problem. That resistance comes from corrosion between the male spade on the horn and the female connector on the wire. Cleaning that connection is your fix.
Getting to the Horn Terminal Safely
The horn on most golf carts sits under the front cowl or behind the dash. On a Club Car DS or Precedent, it is usually mounted to the frame rail near the front bumper. On an EZGO RXV, it is tucked behind the plastic dash panel. You might need to remove a few screws or pop a few push pins to reach it.
Disconnect the main negative battery cable before you do anything else. A horn circuit is live whenever the battery is connected. If you touch a grounded tool to the positive terminal while removing the connector, you create a short circuit. That can blow a fuse or weld a wrench to the frame.
Once the battery is disconnected, pull the female spade connector straight off the male spade on the horn. Do not wiggle it side to side. A wiggling motion can crack the internal connection where the spade meets the horn body.
The Right Way to Clean Corroded Golf Cart Horn Terminals
This is the part where most people make a mistake. They mix baking soda and water or grab a wire brush and go to town.
Baking soda leaves a conductive residue that wicks moisture into the horn itself. A wire brush removes the thin plating on the spade and exposes raw metal that corrodes again in weeks.
Here is the correct process.
Clean the Male Spade on the Horn
Use a fine-grit emery board or a 600-grit sandpaper. Fold it in half and gently pinch the spade between the abrasive surfaces. Pull it straight off. Do this two or three times until you see bright, shiny metal underneath the crust.
If the corrosion is heavy, spray the spade with an electrical contact cleaner first. Let it sit for thirty seconds to soften the buildup. Then use the emery board. Do not use steel wool. Steel wool leaves tiny fibers behind that can create a short circuit.
Clean the Female Connector on the Wire
The female connector is harder to reach because the corrosion is trapped inside the crimp. A small round wire brush or a specialized electrical contact cleaning tool works well here. You can also fold a piece of sandpaper around a toothpick and work it inside the connector.
Spray contact cleaner inside the connector and let it drip out. This flushes away loose debris. Make sure the inside of the connector is dry before you reconnect it. Moisture trapped inside creates new corrosion within days.
Do not use dielectric grease or any thick lubricant at this stage. You want bare metal touching bare metal. Grease applied now will fill the gap and block the signal.
Dry Everything Thoroughly
Compressed air is the best tool for drying. A can of keyboard duster works in a pinch. If you do not have compressed air, let the parts air dry for fifteen minutes. Do not use a heat gun on high near the horn. The horn has a plastic diaphragm inside that warps under direct heat.
Testing the Horn Before Reassembly
Now that the terminals are clean, test the horn before you bolt everything back together. Take two short pieces of wire. Connect one terminal of the horn to the positive post of a 12-volt battery.
Momentarily touch the other terminal to the negative post. The horn should sound loud and clear.
If the horn does not sound with direct battery power, the internal coil is open. You need a new horn. If it sounds strong, move on to reassembly.
Push the female connector onto the male spade. It should click into place with firm resistance. If it slides on loose, the connector is worn out.
Pinch the female connector gently with pliers to tighten it. Reconnect the battery and test the horn from the driver’s seat.
How to Keep Horn Terminals Corrosion-Free
Cleaning the terminals fixes the problem today. But horn terminals corrode fast because of a specific condition called galvanic corrosion.
The brass spade on the horn, the copper wire, and the steel crimp are three different metals. Moisture and road salts turn that combination into a small battery that eats the connection from the inside out.
You need a barrier that blocks moisture but does not block electrical current. Standard dielectric grease is a poor choice here. It insulates the connection when applied too thickly. You want a conductive anti-corrosion compound instead.
| Protectant | Best For | Warning |
|---|---|---|
| No-Ox-ID A Special | Permanent connections, exposed terminals | Messy to apply, but works for years |
| Boeshield T-9 | Wash-down applications, outdoor carts | Must be reapplied every season |
| Fluid Film | Light corrosion prevention | Thin film, requires regular reapplication |
| Dielectric Grease | Rubber gasket seals, bulb sockets | Can block signal on low-voltage connections |
Apply a thin coat of your chosen protectant to the male spade after cleaning. Then push the connector on. The compound fills the microscopic gaps in the metal and seals out air and moisture. This keeps the connection clean for years instead of weeks.
What to Do If the Terminal Is Too Far Gone
Sometimes the corrosion eats through the metal completely. You pull the connector off, and the male spade stays in your hand. Or the female connector breaks apart when you touch it. Cleaning cannot fix missing metal.
For a broken male spade on the horn, you can buy a replacement spade terminal and solder it onto the remaining tab.
This requires a soldering iron and some skill. If the horn body is cheap or the damage is extensive, replacing the entire horn is simpler. A universal 12-volt horn costs very little and bolts right into the existing bracket.
For a broken female connector, cut the wire behind the damaged crimp. Strip a quarter inch of insulation off the wire. Crimp a new female spade connector onto the wire using a ratcheting crimp tool. Heat-shrink the connection to seal out moisture.
Frequently Asked Questions
Will cleaning the terminals fix a horn that only makes a weak buzzing sound
Yes, in most cases. A weak buzzing sound means the horn is receiving voltage but not enough amperage to drive the diaphragm. Corrosion creates resistance that limits current flow. Cleaning the terminals removes that resistance and restores full power to the horn.
Can I use steel wool or a wire brush to clean the terminals
Avoid both. Steel wool sheds tiny metal fibers that can short across the terminals and drain your battery.
A wire brush, especially one made of steel, scratches the plating off the spade. Once the plating is gone, the bare copper or brass underneath corrodes much faster. Stick with an emery board or fine sandpaper.
How do I access the horn on specific models like EZGO or Club Car?
On a Club Car DS or Precedent, the horn is mounted to the front frame rail under the plastic cowl. Remove the two screws at the top of the cowl and lift it slightly to reach the horn. On an EZGO RXV, the horn is behind the dash.
Pop the dash panel off by pulling straight out on the top edge. On a Yamaha Drive, the horn is under the passenger side dash, accessible from below. The process is the same across all models once you find the horn.
The whole job from diagnosis to final test takes about thirty minutes. You do not need special tools. You do not need to replace the horn in most cases.
You just need to remove the corrosion and seal the connection against moisture. Once you have done it yourself, you will never pay someone else to fix a dead horn again.