
Before you grab any tools, take two minutes to confirm the horn is actually the problem. A dead horn could be a blown fuse, a bad horn button, or a broken wire. Testing first saves you from buying a replacement you don’t need.
Here is a quick checklist:
- Press the horn button. Do you hear a faint click from under the dash? That click means the button and relay are working.
- Check the fuse. Most golf carts have a separate fuse for the horn, often in a small fuse block under the seat or near the batteries. Pull it out and hold it to light – if the metal strip inside is broken, replace it.
- Listen to the horn while a helper presses the button. If you hear nothing at all, the horn itself is likely dead.
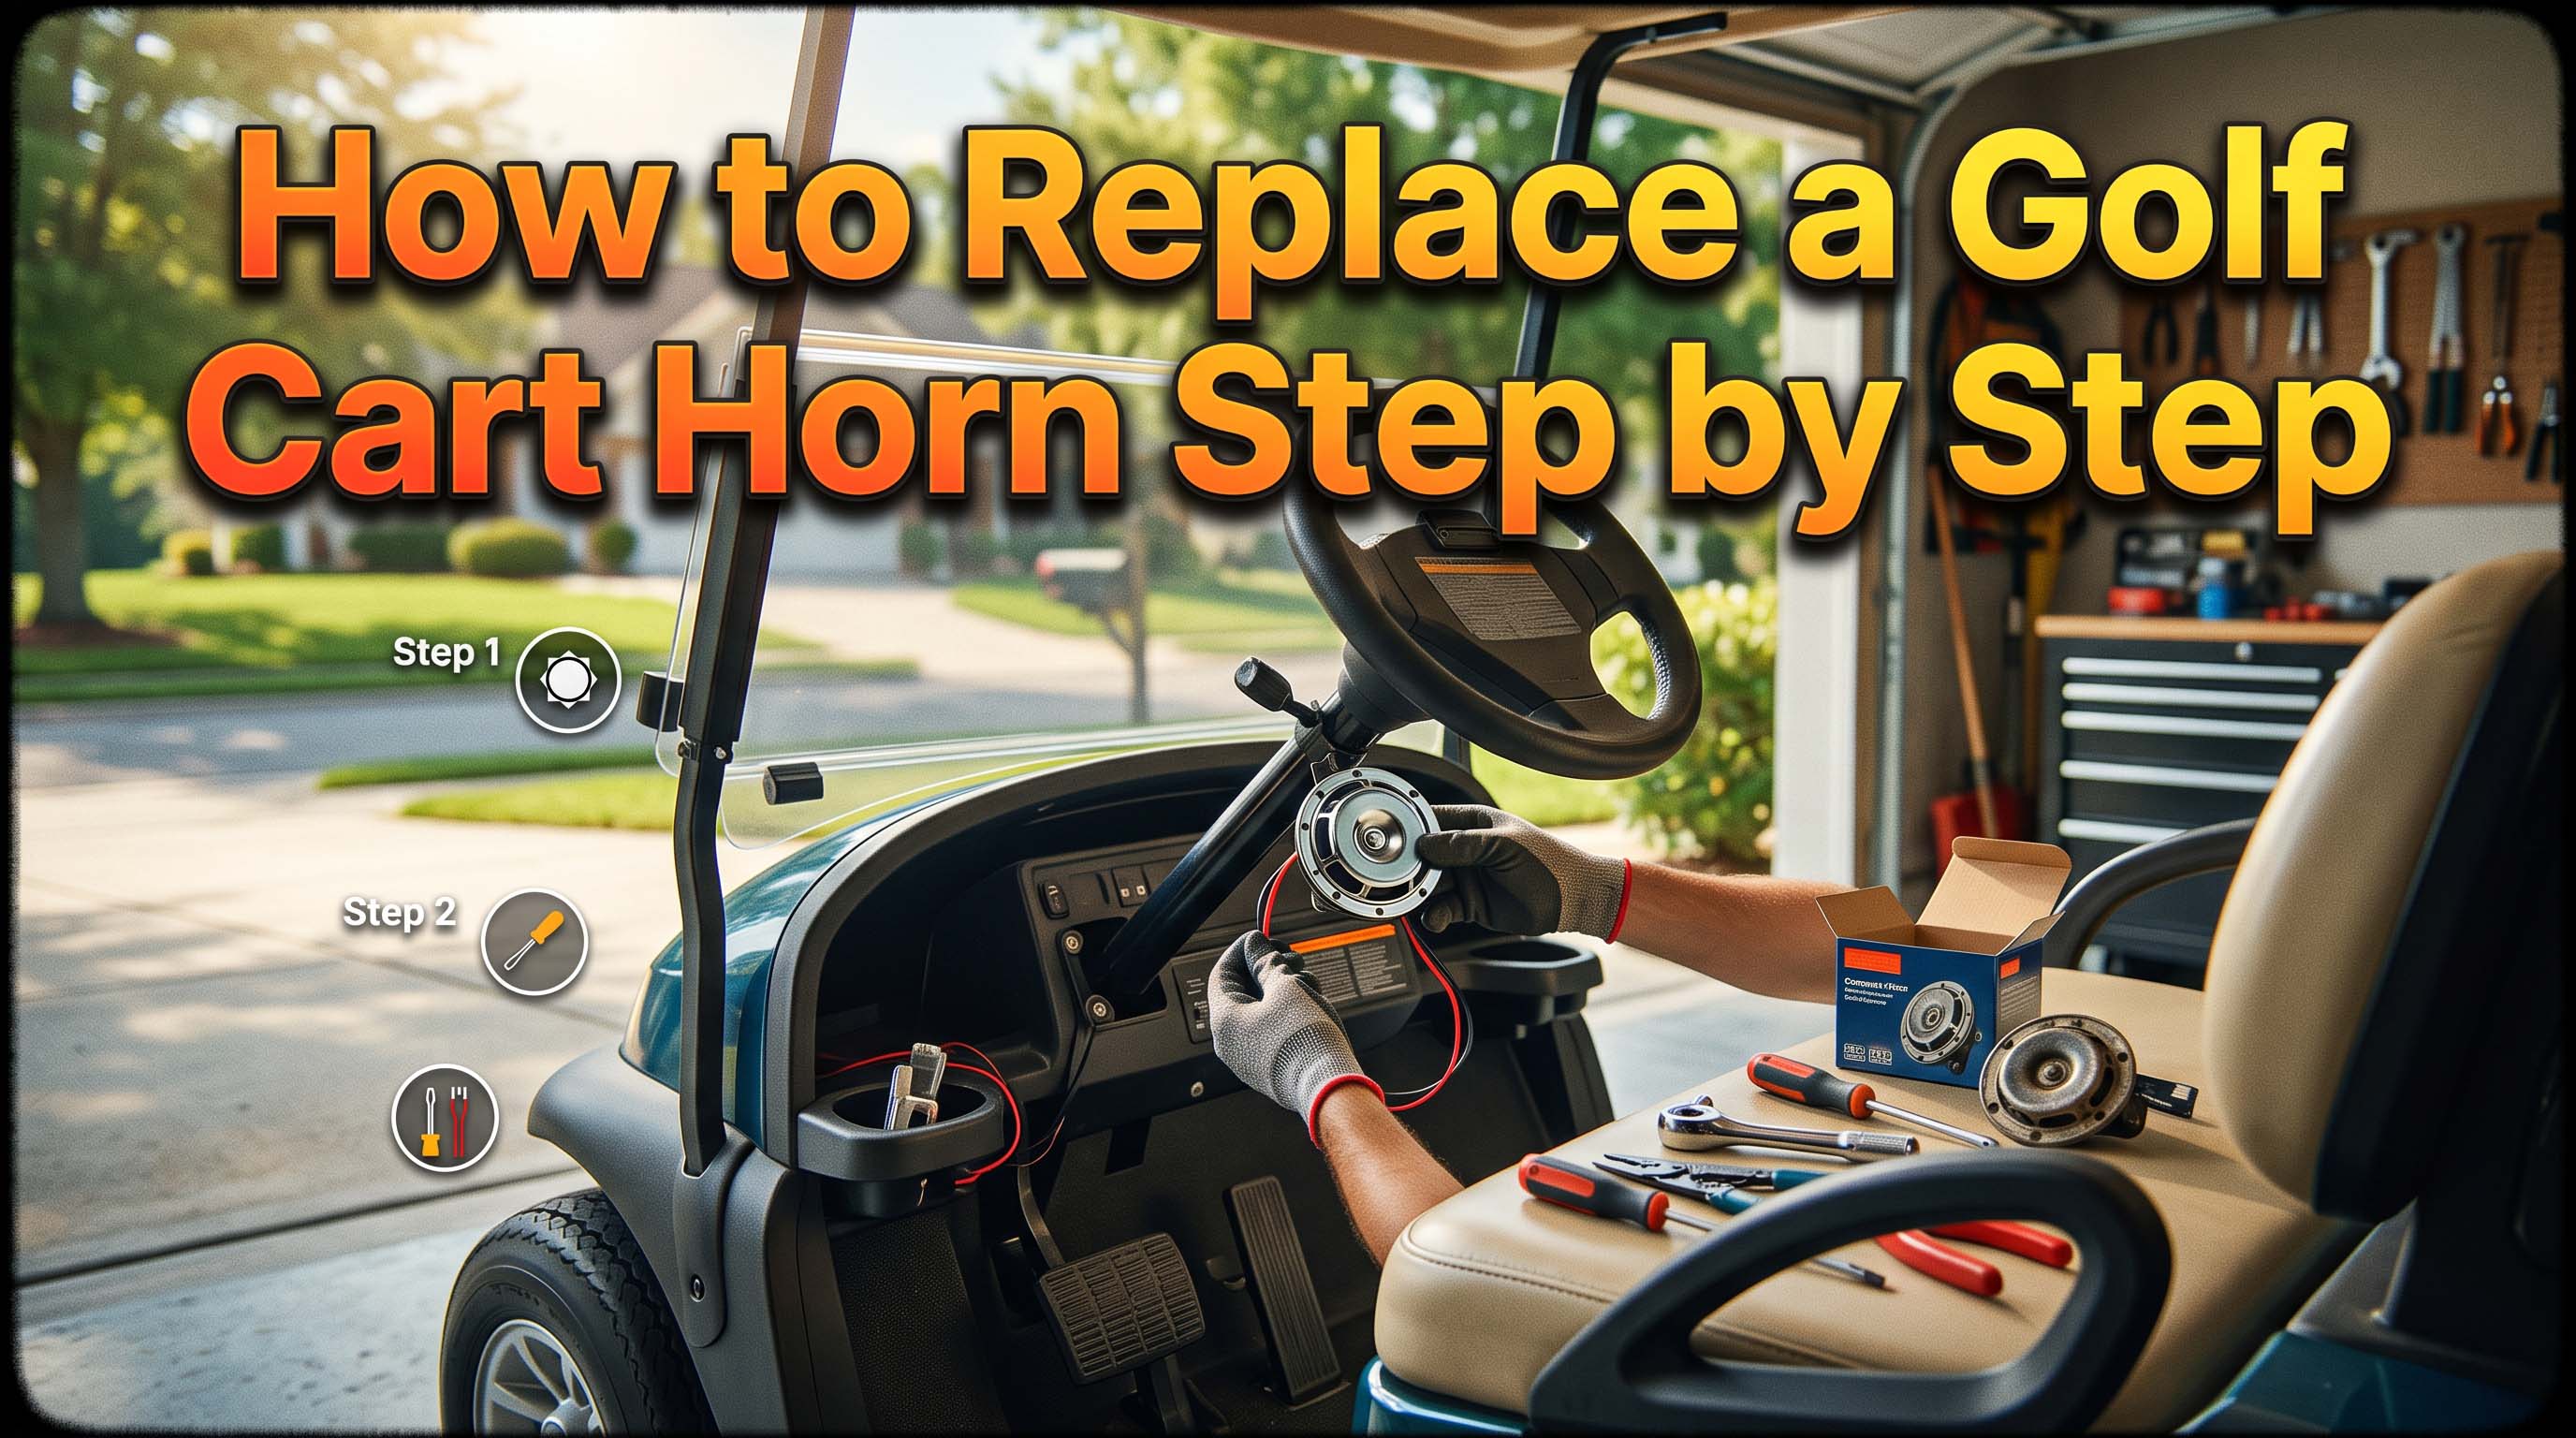
Replacing a golf cart horn is a 30-minute job that requires basic hand tools, a replacement horn that matches your cart’s voltage, and careful attention to wiring polarity. Let me walk you through it.
Diagnose the Problem First
The most reliable way to test a horn without removing it is with a multimeter set to DC voltage. Locate the two wires going to the horn (usually one positive, one negative). Have someone press the horn button while you touch the multimeter probes to the wire terminals.
If you see 12V (or your cart’s accessory voltage) appear when the button is pressed, power is reaching the horn. If power arrives but the horn stays silent, the horn is bad. If no power shows up, the fault is in the wiring, button, or fuse.
You can also pull the horn off and connect it directly to a known 12V battery. A single 12V battery from a jump pack or car works fine. Touch the positive wire to the positive terminal and ground the negative wire. No sound? The horn is dead.
Choose the Right Replacement Horn
Not all golf cart horns are the same. You need to match three things:
Voltage – Most golf carts run on 36V or 48V for the drive system but have a separate 12V accessory circuit. The horn must be rated for 12V. If you have a 12V system, a standard automotive horn works. If your cart does not have a 12V accessory circuit, you will need to install a voltage reducer first. Check your battery setup: if your cart uses a single 12V battery for accessories (common on newer models), you are good. Older carts may power everything from the main battery pack. In that case, look for a horn that can handle 36V or 48V, or add a reducer.
Sound level – 90 dB to 110 dB is typical. Louder does not always mean better – too loud can be annoying on the course. Stick to 100 dB unless you need extra warning off-road.
Mounting style – Some horns come with a flat bracket, others with a tubular body. Check the space around your old horn. If it was mounted with two bolts, get a horn with a similar bracket setup. If you are buying a golf cart horn kit, it often includes a bracket and wiring connectors.
Gather Your Tools and Prepare
You will need:
- 10mm wrench or socket
- Phillips screwdriver
- Wire strippers or a utility knife
- Crimp connectors or wire nuts
- Electrical tape
- Multimeter (optional but helpful)
Always disconnect the negative battery terminal before touching any wiring. This prevents short circuits and accidental grounding. On many carts, the negative terminal is the last one on the battery pack or the chassis ground strap.
Remove the Old Horn
The horn is usually mounted near the front of the cart – under the front body panel, behind the grille, or inside the dash cowl. Follow the wires from the steering column area if you cannot find it.
- Disconnect the two wires from the old horn. Mark which wire was on the positive terminal with a piece of tape or a photo on your phone. Many horns are polarity-sensitive – swapping the wires can make the new horn silent or weak.
- Unbolt the mounting bracket or screws. Use a 10mm wrench or a Phillips screwdriver depending on the fasteners.
- Pull the old horn free. Check the rubber isolator (if present) – it reduces vibration noise. Transfer it to the new horn if the original is still good.
Install the New Horn
- Mount the new horn in the same spot. Use the original bolts or screws. If the hole pattern does not match, you may need to drill new holes or use a universal bracket. Make sure the horn does not touch metal parts that could rattle.
- Connect the wires. Positive wire from the cart goes to the positive terminal on the horn (usually marked + or a larger terminal). The negative wire goes to the negative terminal (–). If your horn has only one terminal, the case itself is the ground – mount it directly to a clean metal surface for a proper ground connection.
- Secure the connections with crimp connectors or solder, then wrap with electrical tape. Loose connections cause weak sound or intermittent operation.
- Plug the battery negative terminal back in.
Test and Troubleshoot
Press the horn button. You should hear a clear, loud beep. If the sound is weak or absent, check:
- Polarity – reverse the wires and test again.
- Ground – if the horn uses the chassis as ground, make sure the mounting surface is clean and bare metal.
- Voltage – measure the voltage at the horn wires while pressing the button. Anything below 10V will cause weak output. A bad connection in the wiring harness can drop voltage.
- Fuse – even if you replaced it, a new fuse could blow instantly if there is a short. Visually inspect again if the horn does not work at all.
If the horn works but sounds distorted, the mounting may be loose. Tighten the bolts and add a rubber gasket if possible.
Model-Specific Wiring Notes
EZGO (TXT, RXV) – The horn button is usually on the floor or on the dash. EZGO uses a ground-switched system. That means the horn gets constant 12V from the fuse, and the horn button completes the ground circuit. When you press the button, it connects the negative side of the horn to ground. If you are replacing the horn, connect the negative wire to the switch wire (usually black/white), and positive to constant 12V (red or orange). Swapping them may cause the horn to blow as soon as you connect the battery.
Club Car (DS, Precedent) – Club Car uses a positive-switched system. The horn button sends 12V to the horn. The negative side is always grounded. Wire the positive terminal of the horn to the button wire (often a light blue or white wire). Negative goes directly to chassis ground.
Yamaha (G22, G29 “Drive”) – Similar to Club Car: positive switched. The horn wire is usually green or green/white. The negative is a black ground. Verify with a multimeter before cutting.
If you are unsure, use a test light or multimeter to find which wire becomes live when the button is pressed. That wire goes to the positive terminal of the horn. The other wire will show a ground path (continuity to chassis) – that goes to the negative terminal.
Frequently Asked Questions
Can I use a car horn on my golf cart?
Yes, if it is a 12V horn. Car horns often draw higher current (5-10 amps versus 2-3 amps for a typical golf cart horn). If your stock wiring and fuse are rated for the extra current, it will work. Otherwise, install a relay to protect the switch and wiring. Many people add a relay when upgrading to a louder horn.
Why does my new horn sound weak?
Low voltage is the most common cause. Check the voltage at the horn terminals with the button pressed. If it is under 11V, trace the wiring for loose or corroded connections. Also make sure the ground connection is clean. A horn that is not firmly mounted can also lose volume because the mounting surface acts as a sounding board.
Do I need to disconnect the battery?
Yes, always disconnect the negative terminal before working on any electrical component. Golf carts can have high voltage (36V or 48V) that can shock you, and even the 12V accessory circuit can cause a spark if a wire touches metal unexpectedly.
How do I test the horn button without removing the horn?
Use a multimeter set to resistance (ohms). Locate the two wires that go to the horn. Disconnect them from the horn. Touch one probe to each wire end. Press the horn button. If the meter shows a low resistance (close to 0 ohms), the button and wiring are good. If it stays open (infinite), the button or wiring is broken.
What tools do I need to replace a golf cart horn?
A 10mm wrench, Phillips screwdriver, wire strippers, crimp connectors, electrical tape, and a multimeter. If you are replacing the horn with a kit, the kit often includes connectors. No special tools are required.
1 thought on “How to Replace a Golf Cart Horn Step by Step”