
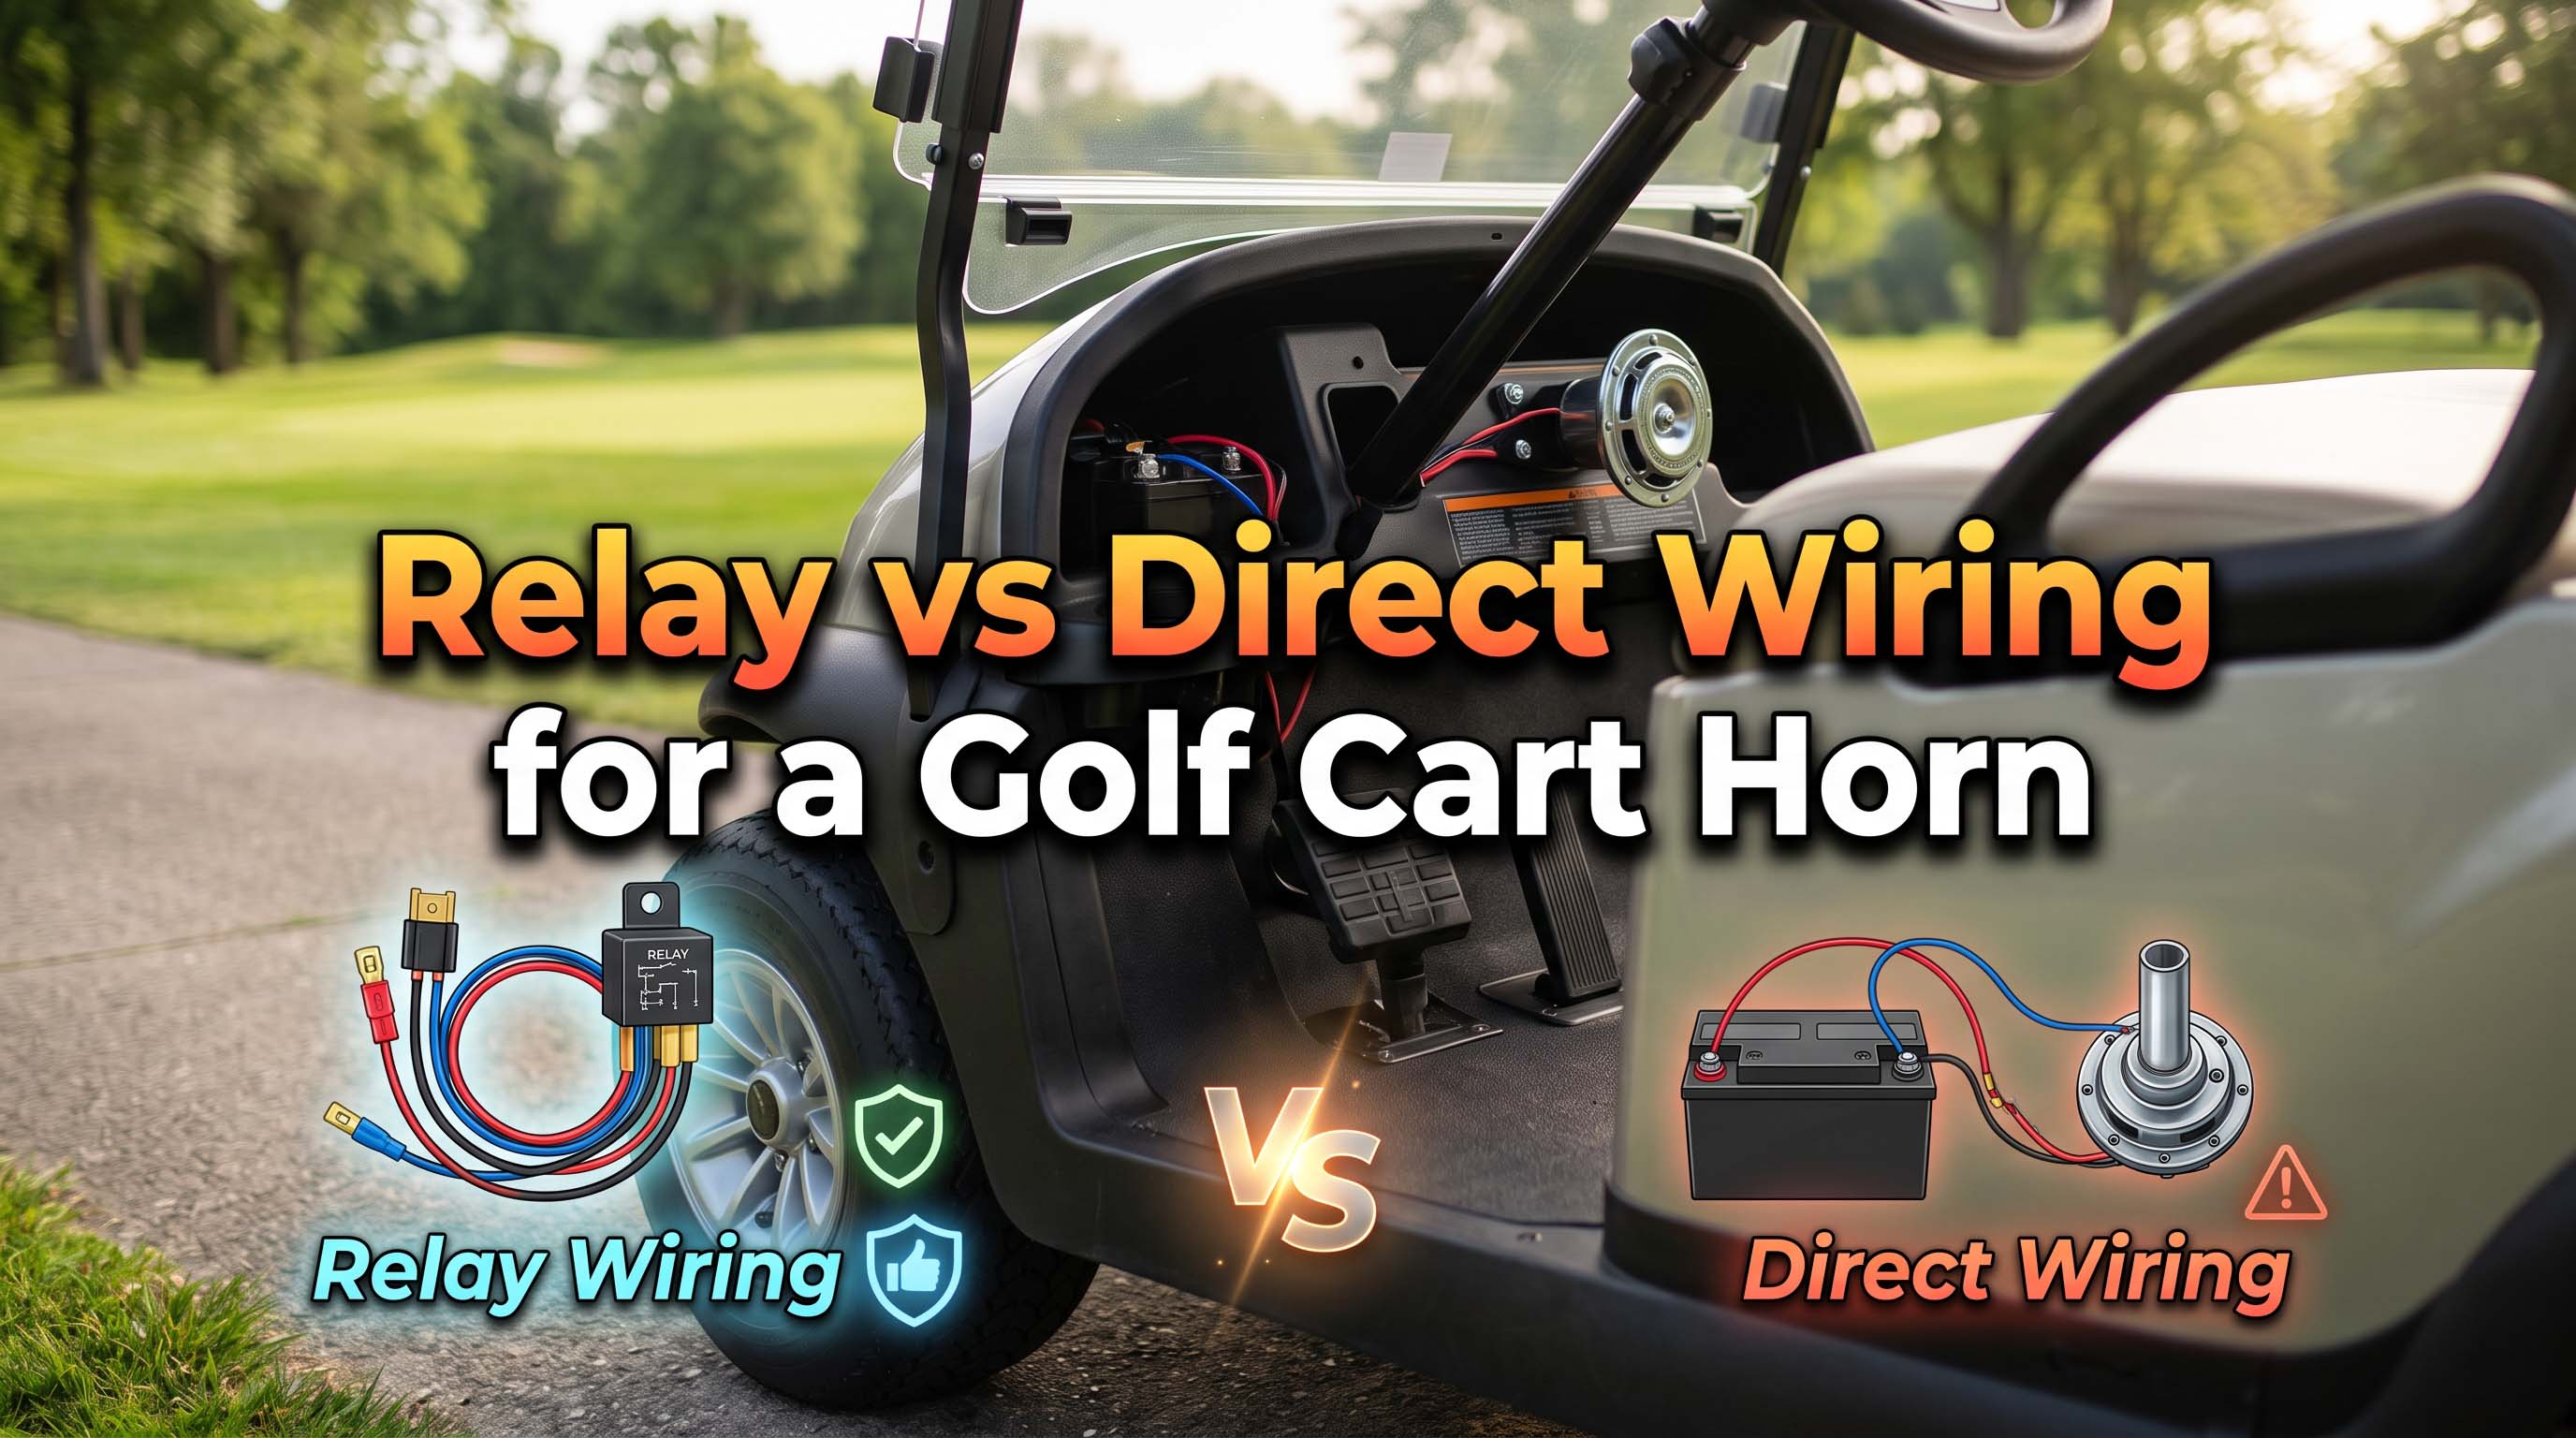
If you’ve bought an aftermarket horn for your golf cart and are staring at wires, the big question is: do I need a relay, or can I just connect the horn directly? I’ve installed horns on Club Car, Yamaha, and EZ-GO carts for years, and the answer depends on your cart’s voltage, the horn’s current draw, and the condition of your stock switch.
Here’s the short version: for most aftermarket horn installations, a relay is the safer, more reliable choice. Direct wiring works in limited, low-amp scenarios. This guide walks you through both methods so you can pick the right one and get it done without burning up a switch or blowing a fuse.
How a Golf Cart Horn Circuit Works
Before we compare wiring methods, you need to understand the stock setup on most golf carts. The factory horn circuit is simple: battery positive runs to the horn button (usually on the dash or steering column), then to the horn itself, and finally to ground. The horn button completes the path when you press it.
On many carts, that horn button grounds through the steering column slip ring and bearings. The factory wires are thin, often 18 AWG or smaller, and the stock horn draws very little current – maybe 2 to 3 amps. That design works fine for the small buzzers that come on most carts.
Now, when you install an aftermarket horn, especially a loud electric horn or an air horn with a compressor, the current draw jumps to 6, 10, or even 20 amps.
Those thin stock wires and the delicate horn button cannot handle that much current without overheating or failing. That’s where the relay vs. direct wiring decision comes in.
What a Relay Does in a Horn Circuit
A relay is an electromagnetic switch. It lets a small current (from the horn button) control a large current (from the battery to the horn). Inside a standard 4-pin relay, you have two circuits: the coil circuit (pins 85 and 86) that activates the relay, and the power circuit (pins 30 and 87) that routes battery power to the horn.
When you press the horn button, a tiny current flows through the coil, which closes the internal switch and sends full battery voltage to the horn. The horn button only handles about 0.1 to 0.2 amps – well within its limits.
For a golf cart, this is especially important because most stock horn buttons and steering column grounds were never designed for high current. A relay protects those parts while ensuring the horn gets the full voltage it needs to be loud.
Voltage-Specific Relay Selection
One thing I see all the time is someone grabbing a standard automotive relay from the auto parts store without checking the voltage rating. Those relays are designed for 12-volt systems. Most golf carts run on 36 or 48 volts.
Using a 12-volt relay on a 48-volt cart will overheat the coil and ruin it quickly. You need a relay with a coil rated for your cart’s system voltage. Look for 48V DC relay coils, or if your cart has a 12-volt step-down converter, you can use a 12-volt relay but power its coil from the converter output.
Some aftermarket kits include the right relay, but if you’re buying separately, read the specs carefully. The relay I recommend for 48-volt carts is the Bosch-style 48V DC relay with 30/40 amp contacts.
Direct Wiring: When It Works and When It Fails
Direct wiring means running a power wire from the battery (or a fused source) straight to the horn, then using the stock horn button to complete the ground or positive path.
On a 12-volt system with a low-current horn (under 5 amps), direct wiring can work fine, especially if you add a proper inline fuse and use 16-gauge wire. I’ve done it on a few carts that have a separate 12-volt battery for accessories, and it held up for years.
But on 36- or 48-volt systems, direct wiring gets risky. The stock horn button and its grounding path through the steering column are not built for high current. Passing 10 amps through those delicate slip rings can cause arcing, which damages the bearings and creates noise in the steering.
Worse, if the horn draws more current than the stock wiring can handle, the wires can melt, or the switch can weld shut.
I’ve replaced two melted horn buttons on carts that had aftermarket horns wired directly, and both owners thought it was working fine until the button stopped clicking.
The Steering Column Ground Trap
Here’s a specific issue that trips up DIYers on many golf carts. The horn button often grounds through the steering column itself. That path relies on a slip ring and the column bearings to carry current.
When you direct-wire a high-current horn, all that current flows through those bearings. Over time, the arcing pits the bearing races and can make the steering feel rough. A relay solves this because the high current never touches the steering column – it flows directly from the battery to the relay to the horn.
The only thing that goes through the horn button is the tiny coil current. If your cart uses a grounding horn button, a relay is almost mandatory for any horn that draws more than 3 amps.
Relay Wiring: The Right Way for High-Current Horns
When you use a relay, you build a dedicated power circuit for the horn. The relay sits close to the battery, takes in a fused power wire, and sends that power to the horn when triggered by the horn button. This gives you several advantages:
- Full battery voltage reaches the horn, so it sounds its loudest.
- The stock horn button and steering column ground are completely protected.
- You can easily add a fuse at the battery that protects the entire horn circuit.
- Works with any system voltage as long as the relay coil matches.
The only downside is you need a few extra components: a relay, a relay socket, some wire, and a fuse holder. It’s a bit more wiring, but once you do it, you never have to worry again.
Parasitic Drain and Standby Current
Another problem with direct wiring that most articles miss is parasitic battery drain. In a direct-wired setup, if the horn is always connected between battery positive and the horn button (which is a normally open switch to ground), there is no drain when the button isn’t pressed.
But if you wire the horn through a separate ground circuit that has a constant path, you can create a slow drain. A relay, on the other hand, completely isolates the horn until the coil is energized.
I’ve seen golf carts that sat for two weeks with a direct-wired aftermarket horn and the battery was dead. Switching to a relay fixed it. For a cart that sits between rounds, that matters.
How to Choose Between Relay and Direct Wiring
To decide which method is right for your golf cart, ask yourself these three questions:
- What is the horn’s current draw? Check the specs. If it’s under 5 amps, direct wiring can work on a 12V system. Over 5 amps, use a relay.
- What is your cart’s system voltage? For 36V or 48V carts, always use a relay with a matching coil voltage to avoid burning out components.
- What type of horn button do you have? If your horn button grounds through the steering column, use a relay to protect those bearings.
Here’s a quick table to help you decide:
| Scenario | Recommended Method |
|---|---|
| 12V cart, horn draws 3A or less, separate horn button on dash | Direct wiring with 16 AWG wire and 5A fuse |
| 12V cart, horn draws 5A to 10A, steering column button | Relay |
| 36V or 48V cart, any aftermarket horn | Relay with 48V coil |
| Air horn with compressor (15-20A) | Relay required |
Step-by-Step: Wiring a Golf Cart Horn with a Relay
I’ll show you the process I use on every cart. For this, you need a 4-pin relay, a relay socket, some 14 AWG wire, a fuse holder with a 10A or 15A fuse (match your horn’s rating), and basic tools. Here are the steps:
- Mount the relay near the battery – I put mine on the frame or the battery tray, somewhere dry and accessible.
- Run a fused power wire from the battery positive to relay pin 30 – Use a ring terminal at the battery and a spade terminal at the relay. Place the fuse within 6 inches of the battery.
- Connect relay pin 87 to the horn positive terminal – Use 14 AWG wire. The horn negative terminal goes to chassis ground or battery negative.
- Connect relay pin 85 to ground – This is one side of the coil. Find a clean chassis ground near the relay.
- Connect relay pin 86 to the output wire from your horn button – The stock horn button wire that used to go directly to the horn now goes here. If your horn button originally switched ground, you may need to adapt it. Most carts have a positive-switched button, but double-check with a multimeter.
- Test the system – Press the horn button. The relay should click, and the horn should sound. If not, check your ground and fuse.
That’s it. The relay now handles the heavy lifting, and your stock button just triggers the coil.
Step-by-Step: Direct Wiring a Low-Current Golf Cart Horn
If your horn is small (under 5A) and your cart uses a 12-volt system, direct wiring is simpler. But don’t skip the safety steps. Here’s how I do it when the situation calls for it:
- Disconnect the battery before touching any wires.
- Run a new wire from the battery positive terminal to the horn positive terminal – Use 16 AWG wire minimum. Install an inline fuse holder with a 10A fuse right at the battery.
- Connect the horn negative terminal to a good chassis ground – Clean the paint off the frame and use a star washer for a solid connection.
- Locate the stock horn button wire – On many carts, it’s a single wire that connects to the stock horn positive. Remove that wire from the stock horn and connect it to the new horn positive terminal instead. This allows the button to complete the circuit. But if your horn button switches ground, you might need to swap polarity. Test with a multimeter first.
- Reconnect the battery and test – Press the button. If the horn sounds weak, check for voltage drop at the horn with a multimeter. If it’s more than a volt less than battery voltage, a relay would fix it.
Warning: If you have a 36V or 48V cart, do not use direct wiring for an aftermarket horn unless it is specifically rated for that voltage and draws under 3A. Even then, upgrade the wire to 14 AWG and add a fuse. Most horns are designed for 12V and will burn out on higher voltage.
Common Problems and Fixes
After installing dozens of horns, these are the issues I run into most often, regardless of which wiring method you choose.
- Horn won’t sound – Check the fuse first. Then test for voltage at the horn with a multimeter while pressing the button. If you have voltage, the horn itself may be bad or the ground is poor. If no voltage, trace back to the relay or button.
- Horn sounds weak – Almost always a voltage drop issue. Direct wiring with long, thin wires is the usual cause. Switching to a relay or using thicker wire (12 AWG for long runs) fixes it. Also check your ground connection is clean and tight.
- Fuse keeps blowing – Either the horn draws more current than the fuse rating, or you have a short circuit. Use a fuse rated for the horn’s max draw plus a little headroom (e.g., a 10A fuse for an 8A horn). If it still blows, inspect the wire for bare spots touching the frame.
- Switch gets hot – This is a classic symptom of direct wiring with a high-current horn. The stock switch can’t handle the amperage. Stop using it immediately and install a relay.
Air Horns and Compressors
Air horns with a compressor draw a lot of current, often 15 to 20 amps when the compressor runs. Direct wiring is out of the question.
You need a relay rated for 30 amps or more, and you should use 12 AWG wire from the battery to the relay and from the relay to the compressor. Many air horn kits come with a relay, but if yours doesn’t, buy one separately.
Wire it the same way as the electric horn relay above. The compressor negative goes to ground. The trigger wire from the horn button goes to relay pin 86. The compressor can also have an additional pressure switch that shuts it off when the tank is full – that switch goes between relay pin 87 and the compressor positive.
I’ve installed several air horn systems on golf carts used for parades, and a relay is the only way to make them reliable.
Frequently Asked Questions
Can I use a 12V horn on a 48V golf cart without a relay?
No. The horn will see the full 48 volts and its coil will burn out almost instantly. You need a 48V-to-12V converter to run the horn, or choose a horn specifically rated for 48V. A relay doesn’t change the voltage; it just switches it. So even with a relay, the horn must match your system voltage or be fed from a converter.
What gauge wire should I use for the horn power feed?
For a relay circuit, use 14 AWG wire for the battery-to-relay and relay-to-horn connections. For direct wiring on low-current horns, 16 AWG is the minimum, but I recommend 14 AWG for extra safety margin. In both cases, the fuse rating should be 10A for most aftermarket car horns, or match your horn’s spec.
Where should I install the fuse?
Always place the fuse within 6 inches of the battery positive terminal, on the main power wire that feeds the relay or the horn. This protects the entire circuit from a short anywhere downstream.
My horn works but sounds weak. Is that a relay vs. direct issue?
Yes, likely. Direct wiring often causes voltage drop because the stock wires are thin and long, and the button itself adds resistance.
A relay feeds nearly full battery voltage to the horn because the power path is short and direct. If you already have a relay and the horn is weak, check your ground and the relay contacts.
Do I need a relay if I’m using a prewired horn kit from a golf cart dealer?
Check the kit instructions. Many dealer kits include a relay, especially for loud horns. If the kit does not include a relay, it is probably designed for low current and a 12V system. Verify your cart’s voltage and the horn’s current draw before wiring it directly.
Can I reuse the stock horn button with a relay?
Absolutely. In fact, this is one of the best reasons to use a relay. The stock button only carries the relay coil current, which is about 0.1 to 0.2 amps. That is well within the button’s rating and will not damage the steering column ground path.
Deciding between relay and direct wiring comes down to protecting your golf cart’s electrical system and getting the loudest possible horn. For most people, spending a few bucks on a relay and taking an extra half hour to install it is worth the peace of mind.
I have yet to see a relay setup fail, but I have repaired plenty of melted switches from direct wiring. Use the table and steps above, and you will have a horn that sounds great and lasts for years.