
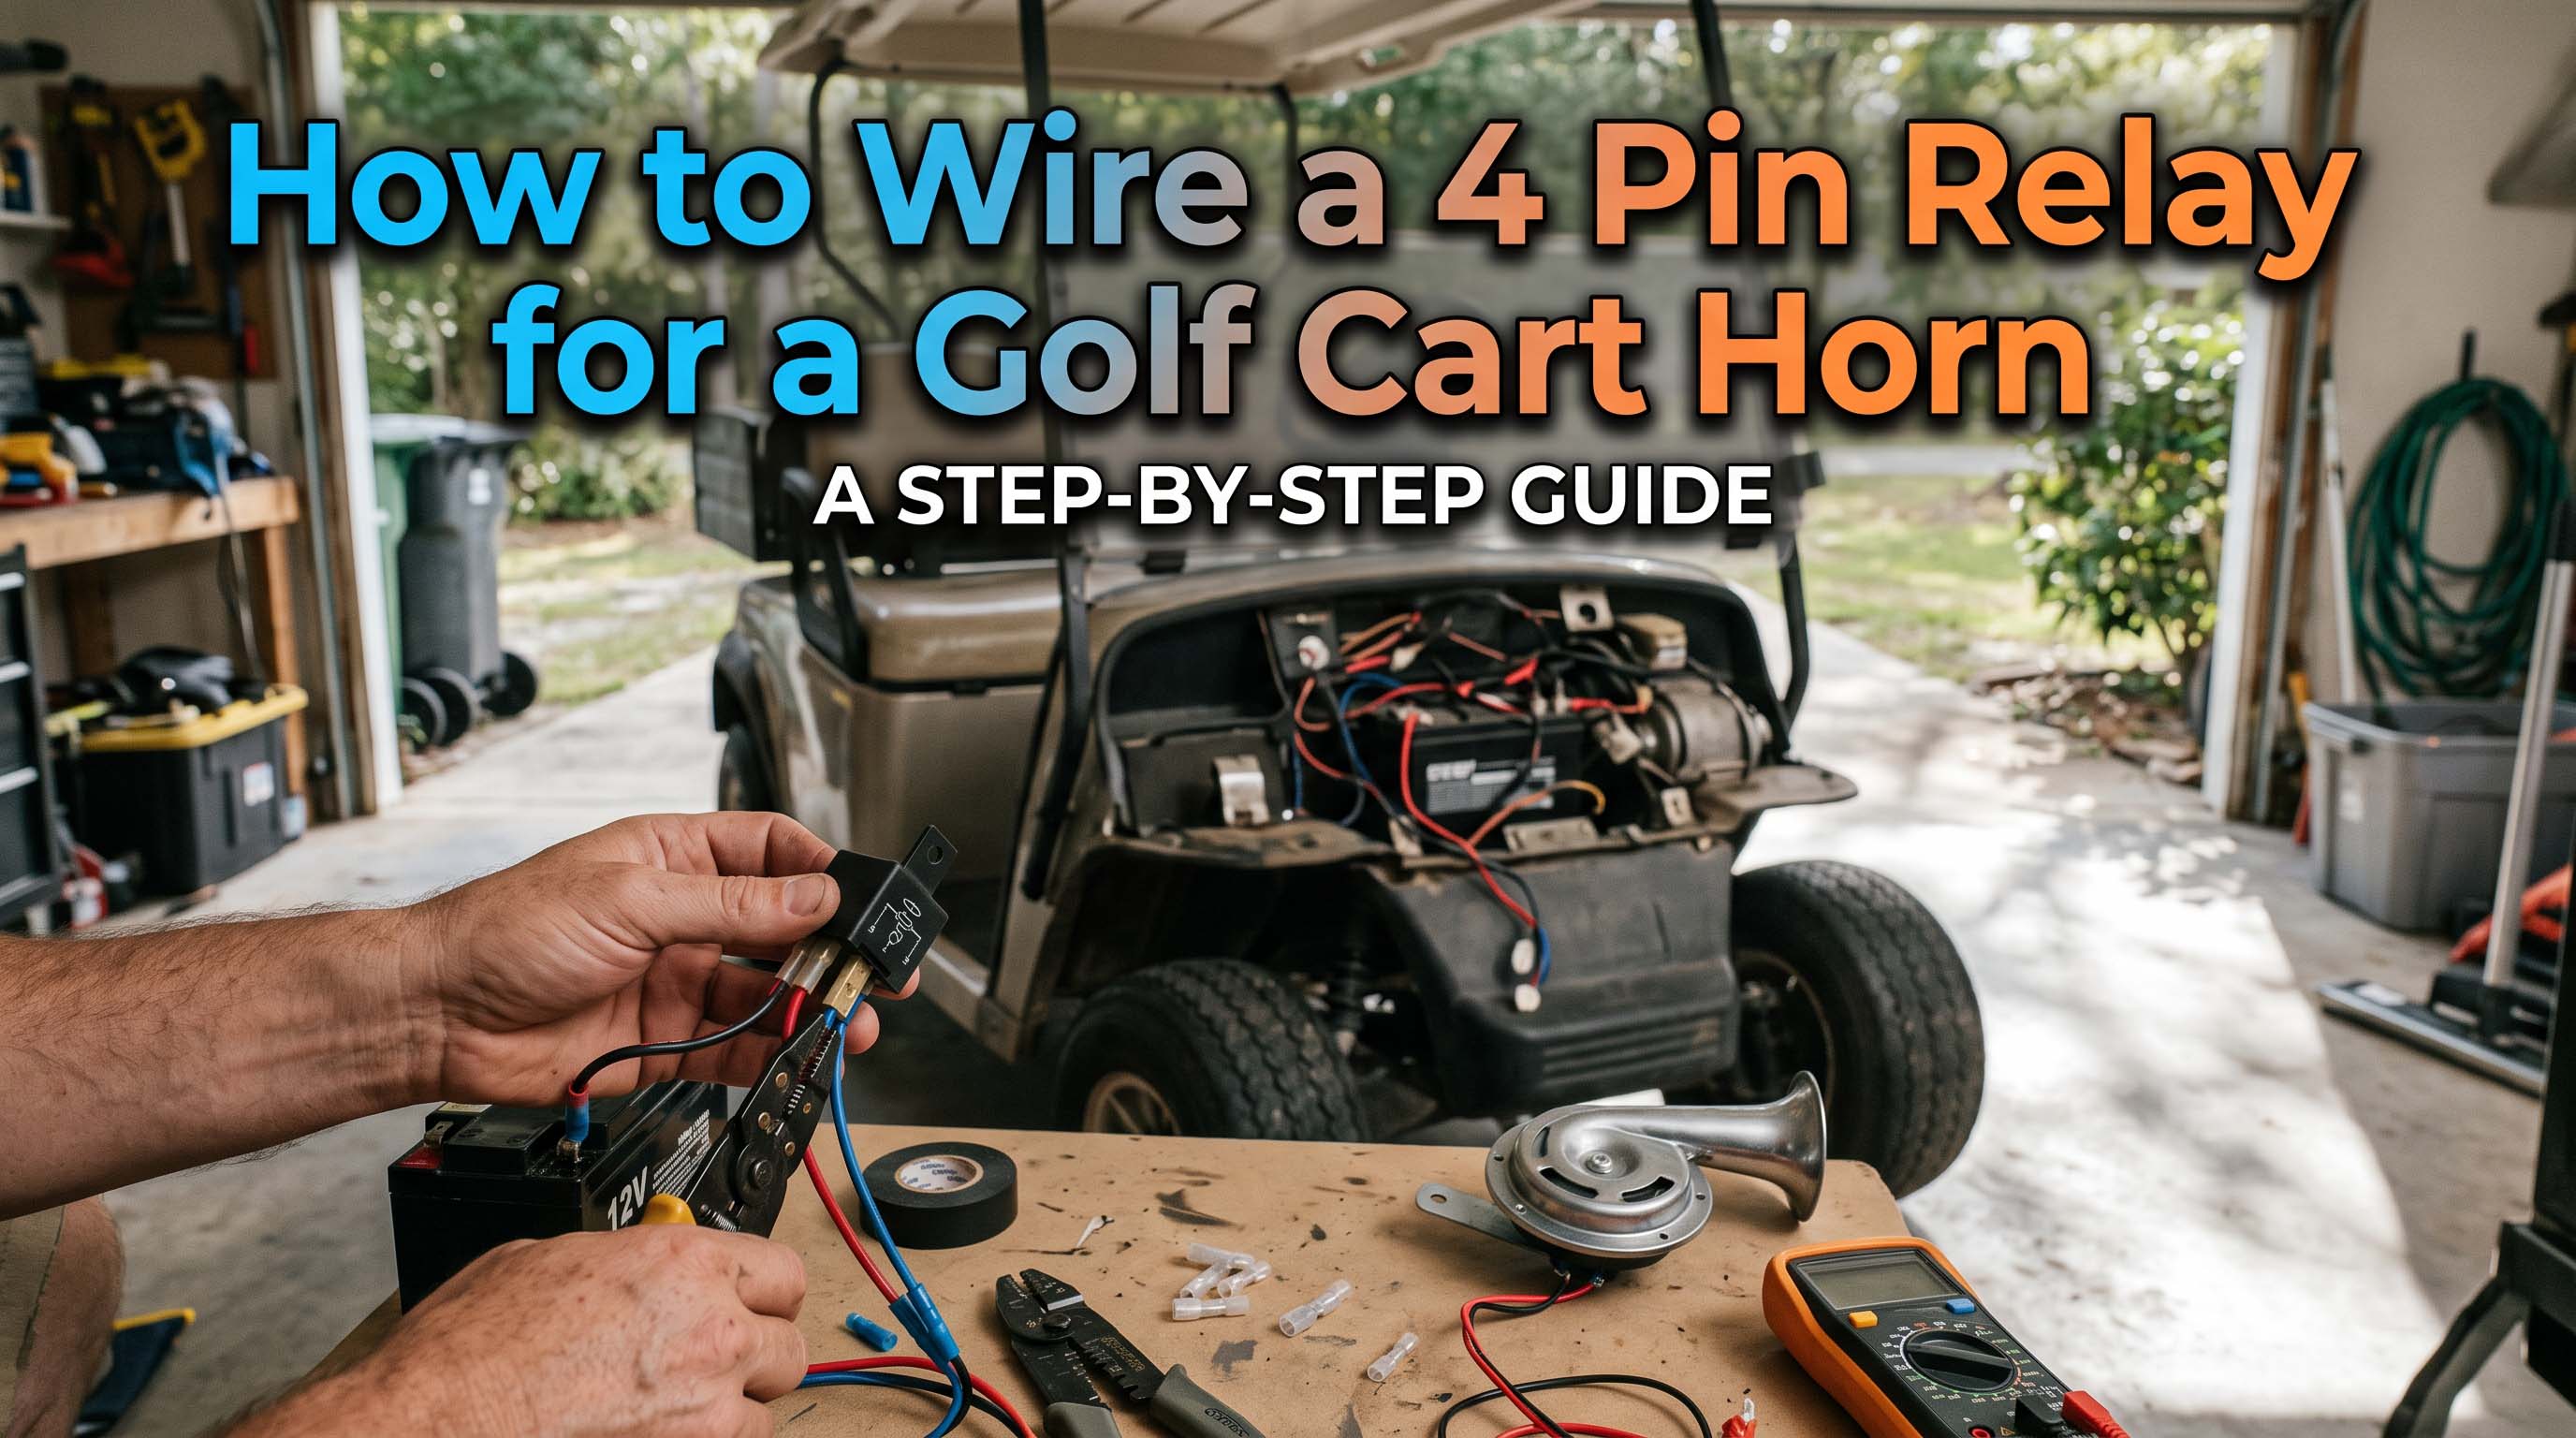
If you have a golf cart with a weak or missing horn, wiring a 4-pin relay is the fix. The horn draws several amps, and your cart’s steering column wires can’t handle that current. A relay solves it. But most guides leave out a catch: your golf cart likely runs on 36V or 48V, while the horn expects 12V.
I’ll show you exactly how to wire the relay, where to get 12V power safely, and what to watch for so your horn blasts loud and clear.
Why You Need a 4-Pin Relay for the Horn
A relay is a simple switch that lets a small signal control a big current. Your horn button or switch sends a tiny amount of power to the relay coil. That closes a heavy-duty circuit inside the relay that feeds full battery power to the horn.
Without a relay, all the horn’s current would go through the switch and thin wires in the steering column. Those wires get hot, the voltage drops, and your horn sounds like a dying mosquito.
I have seen it happen on a Club Car DS – the owner wired the horn directly and wondered why it barely worked. Installing a 4-pin relay fixed it instantly.
Understanding the 4-Pin Relay: Terminals 30, 85, 86, 87
Before touching any wires, know what each pin does. A standard automotive 4-pin relay has four terminals, usually marked on the plastic.
- Terminal 30 – Common power input. This connects to the battery positive (via a fuse).
- Terminal 87 – Normally open output. This goes to the horn’s positive wire.
- Terminal 85 – Coil ground. This connects to the cart’s frame or battery negative.
- Terminal 86 – Coil trigger. This connects to your horn switch (button). When the switch sends 12V to 86, the relay clicks and connects 30 to 87.
Most relays have a diagram printed on the side. Double-check that your relay matches: 85 and 86 are the coil, 30 and 87 are the switch.
Identifying Your Golf Cart’s Horn Circuit
Golf carts vary. Some have a horn button on the dash that sends positive voltage when pressed. Others use a ground-switched circuit where the button completes a ground path. You need to find out which one you have. Grab a multimeter.
Locate the two wires going to your existing horn (if it is already installed) or the switch wires. Set the multimeter to DC voltage. Press the horn button and measure between each wire and the battery negative.
If one wire shows battery voltage (12V, 36V, or 48V depending on your cart) when the button is pressed, that is the positive trigger.
If one wire shows zero volts and the other is ground, your switch is likely ground-switched. Most modern carts use a positive trigger from the switch. If you are unsure, test with a small test light or check the cart’s manual.
Once you know your trigger type, you will connect it to relay terminal 86. For a positive trigger, wire 86 directly to that switch wire. For ground trigger (less common), you would need a different wiring method, but in my experience, most golf cart horn switches are positive-side.
The Voltage Trap: Running a 12V Horn on a 36V or 48V Cart
This is the part that trips up most DIYers. Your golf cart’s battery pack is probably 36V or 48V. Your new horn is 12V. Connecting the horn directly to the pack will blow it and possibly damage the relay. You need a 12V power source. There are two safe ways:
- Use a voltage reducer (recommended). Buy a 48V-to-12V or 36V-to-12V reducer rated for at least 10 amps. Mount it near the batteries. Wire the input side to the full pack voltage (positive and negative from the pack), and the output side gives you clean 12V.
- Then wire your relay and horn from that 12V output. This is what I did on a Yamaha Drive – it works perfectly and keeps the whole system safe.
- Tap one 12V battery from the pack (only if the exact voltage matches). If your cart uses a 48V pack made of four 12V batteries in series, you can pick off power from just one battery. This is a common shortcut. The risk is draining that one battery unevenly, causing other batteries to overcharge. It works in a pinch for a low-draw horn, but I strongly advise using a proper reducer. If you do tap, connect the relay’s power and ground to the positive and negative terminals of that single battery. Ensure all other cart electronics still run off the full pack.
Never connect a 12V horn to the full 36V or 48V pack. I have seen people wire it wrong and the horn screams for a second, then goes silent permanently.
Step-by-Step Wiring Procedure
Now that you have a 12V source ready, follow these six steps. I am assuming you have a positive-trigger horn switch (most common). Disconnect the main battery pack negative terminal first for safety.
- Mount the relay in a dry location away from heat sources. I usually put mine under the dashboard or inside the battery compartment if there is room. Use a small zip tie or screw to hold it.
- Connect terminal 85 to ground. Run a wire from 85 to a clean metal frame point (scratch paint to bare metal) or to the negative terminal of your 12V source. Use 18 AWG wire for this trigger circuit.
- Connect terminal 86 to the horn switch wire. Locate the wire from your horn button that sends 12V when pressed. Splice into it and run an 18 AWG wire to relay terminal 86. If your switch is ground-trigger, you would instead connect 86 to the switch and 85 to 12V positive – but verify polarity.
- Wire terminal 30 to 12V power (with a fuse). From your voltage reducer output (or tapped battery positive), run a 14 AWG wire to an inline fuse holder with a 15-amp fuse. Then from the fuse to relay terminal 30. The fuse protects the wire and horn if something shorts.
- Wire terminal 87 to the horn’s positive terminal. Use 14 AWG wire. The horn usually has two terminals: one positive, one negative. Connect this wire to the positive.
- Ground the horn’s negative terminal. Run a 14 AWG wire from the horn negative to the same ground point as relay terminal 85 (or to the 12V source negative). A solid ground is critical – poor ground causes weak horn sound.
Double-check all connections. Use crimp connectors and heat shrink tubing, especially outdoors. Reconnect the battery pack negative terminal.
Testing and Troubleshooting
Press the horn button. If it works – great. If not, here is what to check.
- Horn does nothing, relay does not click. The problem is likely with the trigger circuit (86 or 85). Check voltage at terminal 86 when you press the button. Should be 12V. Also check ground at 85. Replace the relay if it still does not click.
- Relay clicks but horn is silent. Check voltage at terminal 30 (should be 12V with fuse intact) and at terminal 87. If 30 has voltage but 87 does not when the relay clicks, the relay is bad. If 87 has voltage but the horn terminal does not, check wiring from 87 to horn. Also, horn ground – ensure it is connected.
- Horn sounds weak. Most likely a voltage drop. Measure voltage at the horn terminals while someone presses the button. Should be above 11.5V. If lower, check your voltage reducer capacity (needs to supply enough current) and check all connections for corrosion. A loose ground is the number one cause of weak horns.
- Relay stays on after releasing the button. The switch is likely stuck, or you have a short in the trigger wire. Replace the horn button.
Final Installation Tips
These extras will keep your horn working for years.
- Waterproof the relay. Even a cheap plastic relay can fail if water gets in. Wrap it in electrical tape or put it in a small weatherproof enclosure. I use a waterproof fuse holder from an auto parts store.
- Use the correct wire gauge. 14 AWG for the power and horn circuits. 18 AWG for the trigger. Thinner wire on the power side causes voltage drop.
- Add a flyback diode (optional but smart). A diode across terminals 85 and 86 (cathode to 86, anode to 85) prevents voltage spikes when the relay coil turns off. It is not required but protects sensitive electronics in modern golf carts. A 1N4007 diode costs pennies.
- Secure the horn. Mount it with rubber isolators to prevent vibration. A loose horn rattles and sounds terrible.
Frequently Asked Questions
Can I use a 5-pin relay instead of a 4-pin?
Yes. A 5-pin relay has an extra terminal (87a) that is normally closed. For your horn, you just ignore 87a. Wire 30, 85, 86, and 87 exactly the same. Tape off 87a to prevent accidental contact.
What wire gauge should I use for the horn?
14 AWG for the main power and horn circuit. 18 AWG for the relay trigger (coil). Thicker wire than that is overkill and harder to work with.
My golf cart is 12V battery-based (like an EZGO RXV with a single 12V battery). Do I still need a relay?
Yes. Even with a 12V cart, the horn switch and thin steering column wires cannot handle the current. The relay protects the switch and gives full voltage to the horn.
Will the relay work on a 48V golf cart if I use a voltage reducer?
Yes, that is the correct method. Wire the relay coil (85-86) from the 12V output side of the reducer. Also power the horn from that same 12V side. The relay and horn never see the 48V pack voltage.
The horn sounds weak – what is wrong?
Check the ground connection first. Then measure voltage at the horn terminals while pressing the button. It should be at least 11.5V. If lower, check the voltage reducer rating, fuse condition, and all crimp connections for resistance.
Do I need to disconnect the battery before wiring?
Absolutely. Disconnect the main pack negative terminal. A short circuit while wiring can cause sparks, weld tools, or damage electronics. Always work on a dead electrical system.